Por fin pude terminar un proyecto que tenía pendiente desde hace varios meses. Se trata de una brujita en filigrana 3d que le tenía prometida de regalo a una amiga. Creo que será un souvenir perfecto para Halloween de este año. Figura en Filigrana / Quilling 3d
Últimamente se ha hecho muy famoso en la red este tipo de quilling. Delinear una letra y luego rellenarla con las formas que se nos ocurran. Lately it has become very famous in the network this type of quilling. Delineate a letter and then fill it with the shapes that we want. En esta ocasión se me ocurrió realizar dos letras muy personalizadas. Una "P" para mí y una "J" para mi pequeño hijo. On this occasion I made two very personalized letters. A "P" for me and a "J" for my little son. Letra "P" en filigrana de papel, de Pily Esta letra contiene varias cosas que me encantan: flores, pasto, sol y un cielo muy azul. Letter "P" in quilling from Pily This letter contains several things that I love: flowers, grass, sun and a very blue sky. Letra "J" en filigrana de papel con un tema muy playero. En cambio a mi hijo le encantan la playa, el sol, el mar y los peces de col...
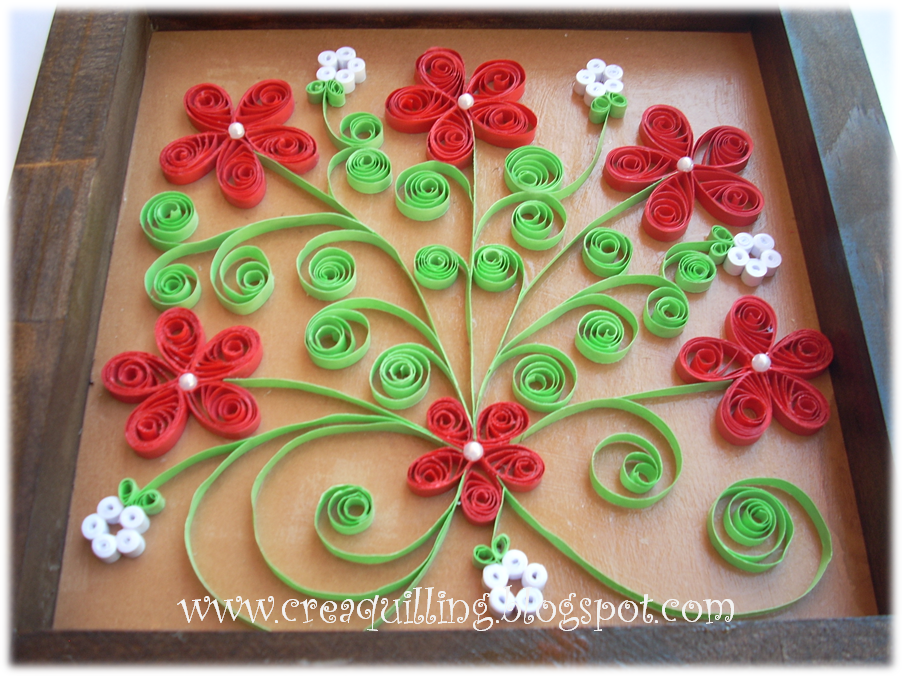
Estos fueron mis primeros cuadros que hice, hace mucho tiempo atrás. Conocí la filigrana el 2009 por internet, me enamoré y desde aquel entonces realizo algunos proyectos en Quilling. Siempre me han fascinado las flores y aunque no tengo mucho talento cultivándolas (siempre olvido regarlas 🤦), quise crear mi propio jardín en papel que no se marchitará jamás. When I met the quilling for the first time in 2009 , shortly after I made this my first crafts with these flowers. Pily


¡Otras lindas creaciones! ¡Te felicito!
ResponderEliminarMariangela
Gracias Mariangela!
Eliminar